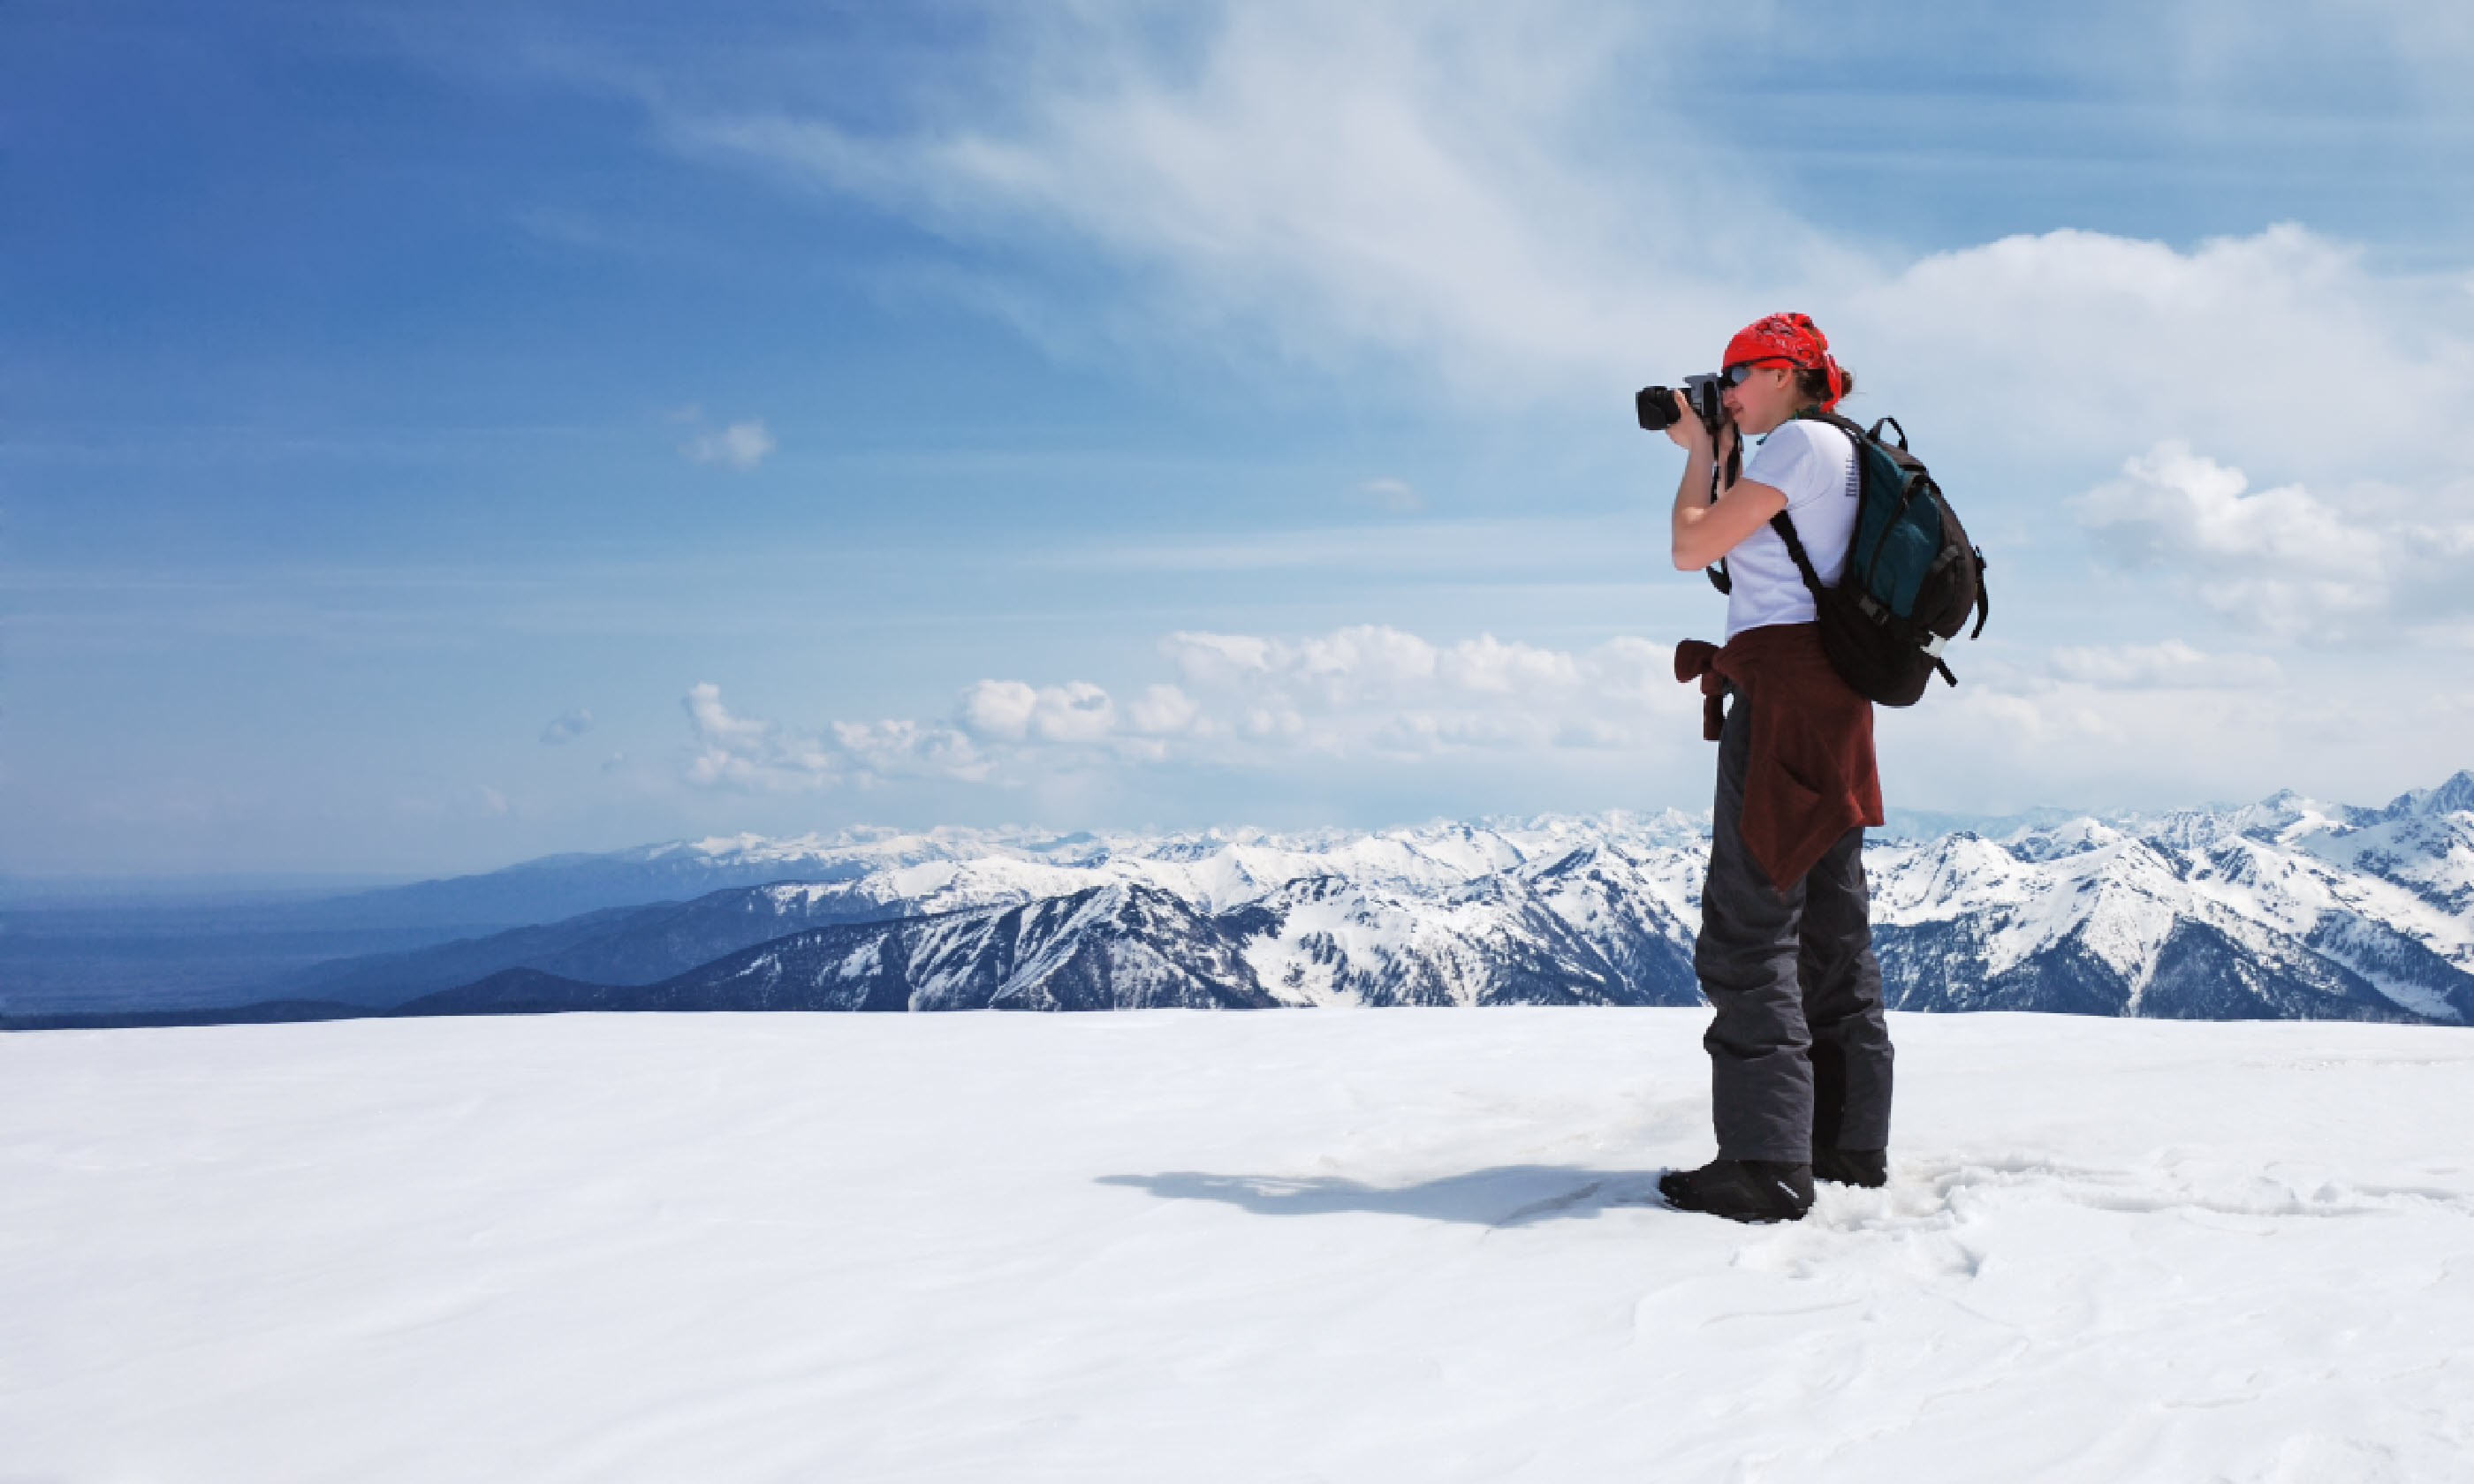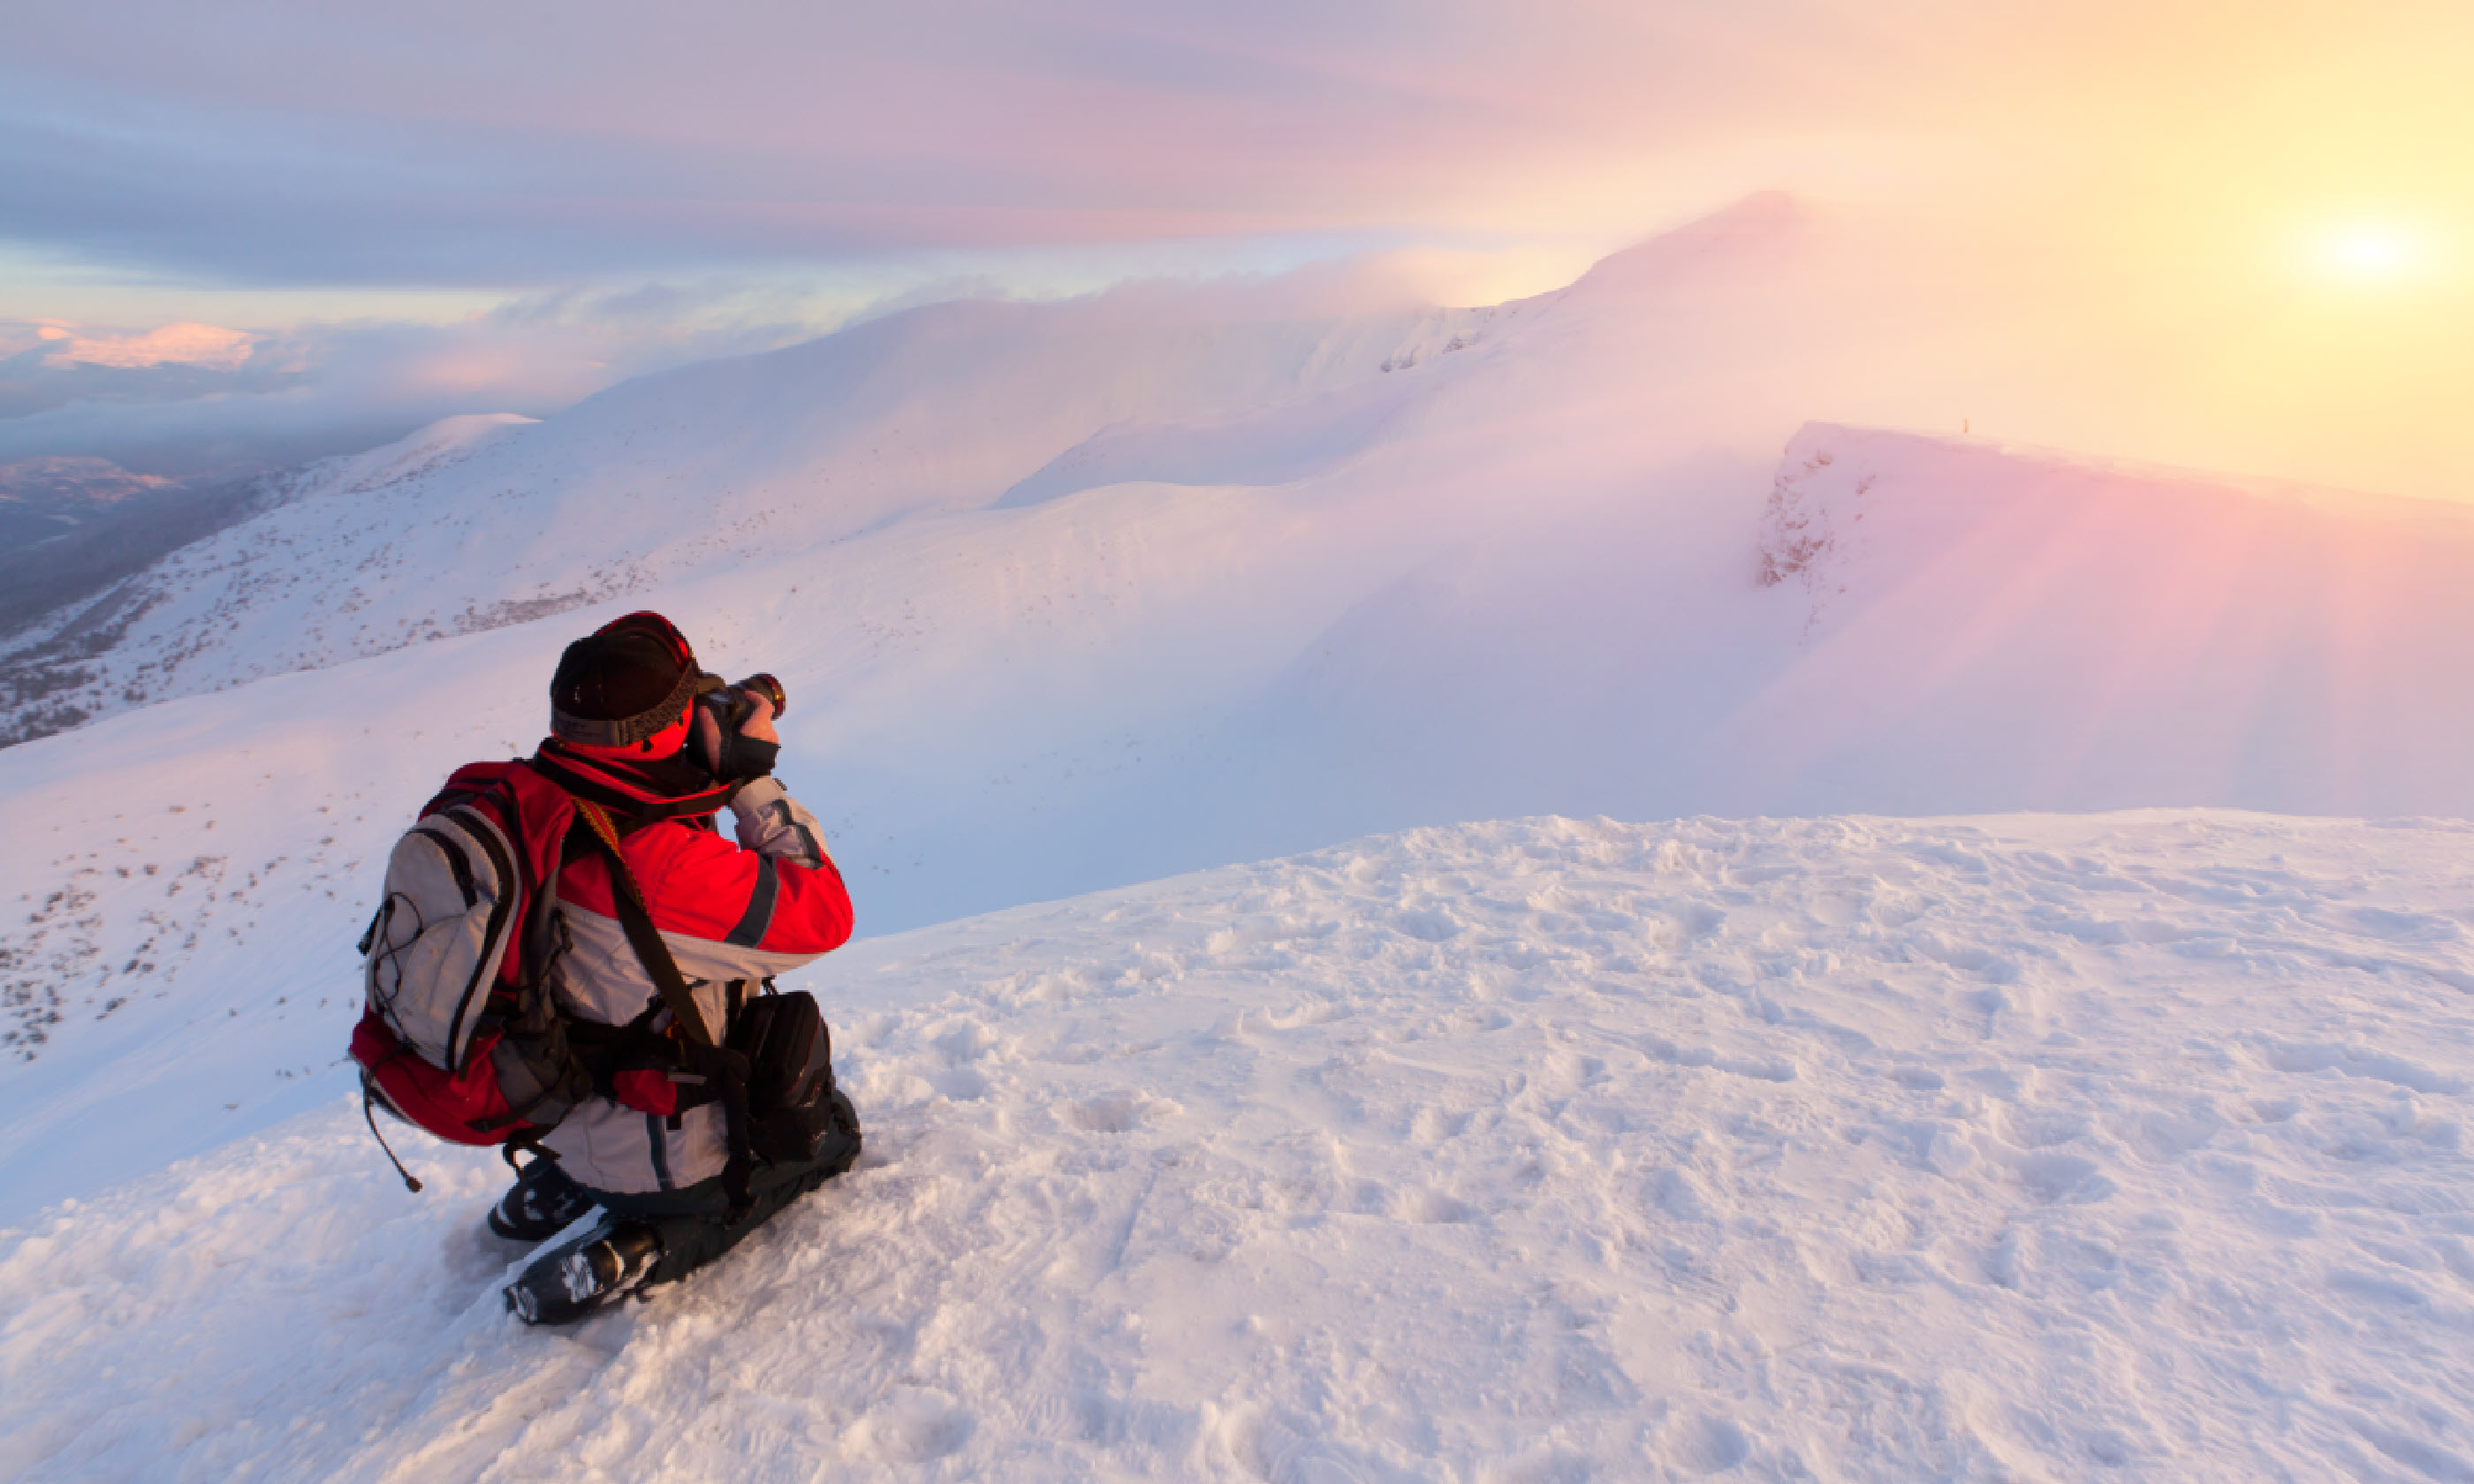
Snow looks pretty, but brings photographic challenges beyond just chilly fingers. Here we offer tips to help keep your winter shots whiter than white
Snow, it has to be said, can look fantastic in photos, but taking great snow pictures can be a challenge to even the most accomplished photographer using the most sophisticated camera. With a few pointers, though, you can shoot better snow shots, whatever your skill or equipment level.
Whether you are at the top of a mountain in the ski season or labouring through a British winter, a big part of the problem is to find a good snow scene. Unlike most landscape or cityscape photography, you don’t just have to worry about finding a good angle and waiting for the light – you also have to make sure that the snow is in good condition.
A few footprints might be atmospheric, but slushy, dirty or – worse still – yellow snow can ruin an otherwise perfect picture. Be prepared for some early starts after fresh snowfall to avoid that used snow look.
Snow reflects a lot of UV light, which can give a distinct blue cast to your pictures, especially in the shadow areas. Fitting a good-quality UV filter to your camera can help reduce this; a moderate warm-up filter can help if you are shooting film.
The problem can be corrected on digital cameras by adjusting the white balance setting; if the Auto White Balance function doesn’t produce the right result, try the Cloudy or even the Shade setting to warm up the picture, neutralising the blue cast. If your camera can shoot in the versatile RAW format you can alter the white balance retrospectively in post processing without any loss of quality.
Bright snow can reflect a lot of light, confusing most camera meters and resulting in underexposure, leaving your pictures too dark, sometimes even grey. Get around this by increasing the exposure above your camera’s automatic or suggested setting.
If you have mastered shooting with manual exposure, this can actually be quicker than shooting in Auto: simply spot-meter on the brightest patch of snow, then set exposure at around two stops more than the meter suggests. Check the exposure by shooting a test shot and reviewing the image on the LCD screen before making any adjustments. This exposure will be correct until the lighting conditions change.
If you are shooting in any of the Auto exposure modes then you will have to set the exposure compensation facility to +1.5 or even +2 stops. This will automatically adjust each automatic exposure by the amount set. The actual amount of compensation that you will need will depend on how accurate your meter or metering actually is, and can be assessed and adjusted using the LCD screen and histogram.

Photographer in the mountains (Shutterstock)
If you have Picture Scene modes on your camera, selecting the ‘Snow’ mode should take care of all of these camera settings, with a warmed white balance to reduce the blue tint, over-exposure to render the white snow as white, and even a lower contrast setting to help balance dark shadows and bright snowy highlights.
Although it is best to get as much as possible right ‘in camera’, you can greatly improve your snow photos in post-processing on a computer, allowing you to alter the white balance, correct exposure and even recover slightly over-exposed highlights. There are a number of computer programs that will enable you to do this.
If your camera can save pictures in the high-quality RAW format, correcting your images in post-processing will be easier and also will achieve higher-quality results. A RAW file retains more information in the highlights than the compressed JPEG format, allowing you to alter the exposure and recover highlights to a much greater degree without a great loss of quality.
Shooting RAW also allows you to infinitely change the white balance without any loss of quality and by reviewing results on a computer screen, not on the (less accurate) LCD screen on the back of the camera.
It may sound obvious, but a major problem with photography in the snow is the cold. This can affect your camera in a number of ways.
The worst issue is condensation. If you move from a cold place to a warm one too quickly condensation can form on your camera and lenses. This can ruin sensitive electronics, especially if you then go back out into chilly conditions and the condensation freezes.
The way to avoid this is to let your equipment’s temperature adjust slowly when you move between temperatures. If you are heading inside to warm up, leave your camera in a camera bag and let it warm up slowly before you turn it on to see your pictures. If it is safe, I sometimes leave my camera bag outside in the cold while I pop inside in order to avoid condensation issues.
Extreme cold will reduce the charge of any batteries, even the lithium-ion type found in most modern cameras, causing the batteries to run down far quicker than in warmer conditions. Make sure you always carry at least one spare, fully charged battery with you. Keep it warm in an internal pocket close to your body and the charge will last much longer.
Lastly, be sure to look after yourself in the cold. It can affect you, too – not just your creativity or enjoyment. Make sure that you are equipped with warm clothes, and try to buy gloves that will allow you to use a camera without having to take them off.