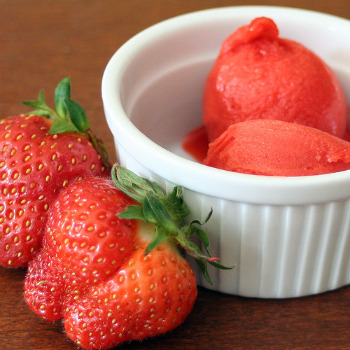
 When I’m at home during the summer months, I start each Saturday at my local farmer’s market, and as long as my favorite stand has strawberries I typically come home with several containers. There are several stands at my local market that have strawberries, but my favorite stand has one variety that no other stand has – and they’re the best strawberries I’ve ever tasted.
The trouble with strawberries is that they spoil so quickly, and since it feels like a crime to let such good berries go to waste I try to transform them as soon as I can into strawberry gelato – sometimes even by Saturday afternoon. And even during the summer I have no qualms about spending a little time in the kitchen to turn strawberries into strawberry gelato because this recipe requires no cooking whatsoever.
>> Want to make a whole Italian meal? Check out the other Italian classic recipes I’ve posted!
I first learned this recipe at a gelato class that was taught by the owner of the best gelato shops in Portland (where I currently live), and some of the best gelato I’ve had outside Italy – Mio Gelato. I have modified the recipe somewhat, mainly because I’m lazy, and it still turns out brilliantly. As mentioned, there’s no cooking necessary (even if you use the un-modified version), so it’s easy to whip this up even in hot weather when you don’t feel like going near the stove.
The recipe below is written as I first learned it, and my modifications are listed below that. I also regularly use this recipe to make peach gelato and raspberry gelato, so the adjustments for making both of those are below as well.
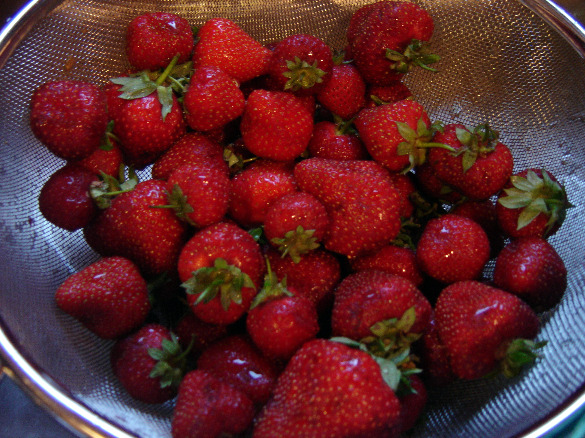
Ingredients
Directions
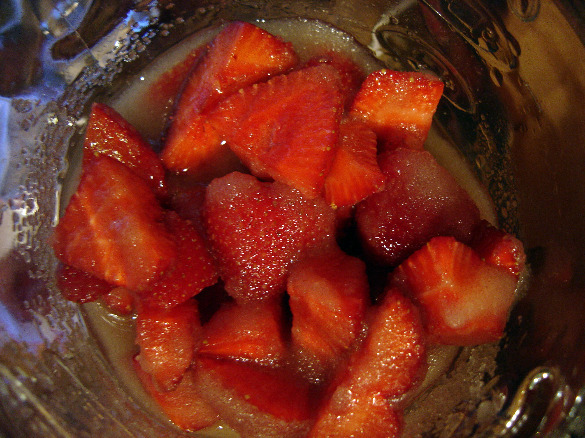
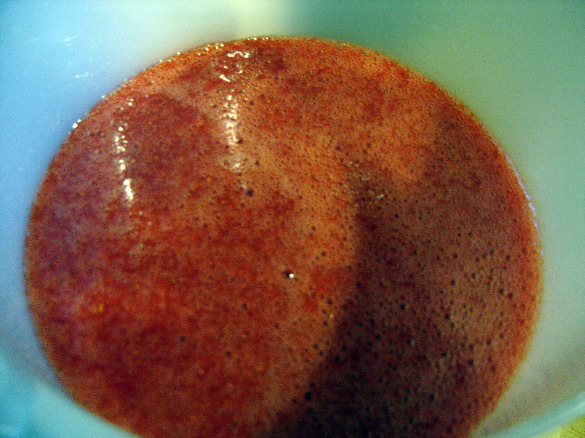
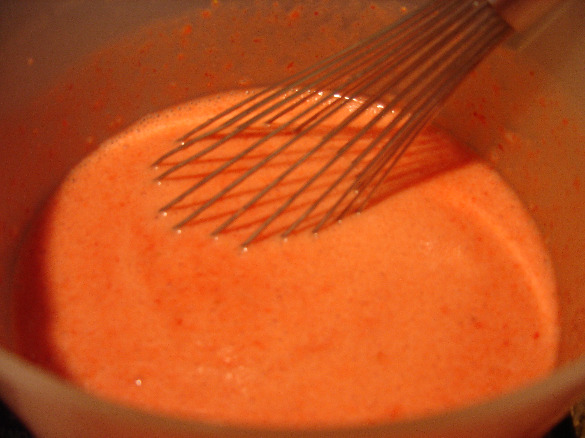
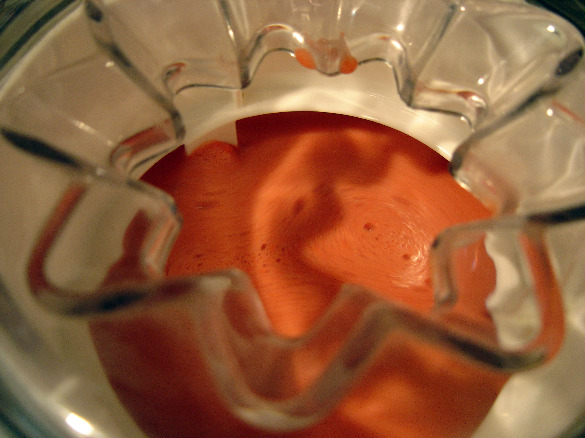
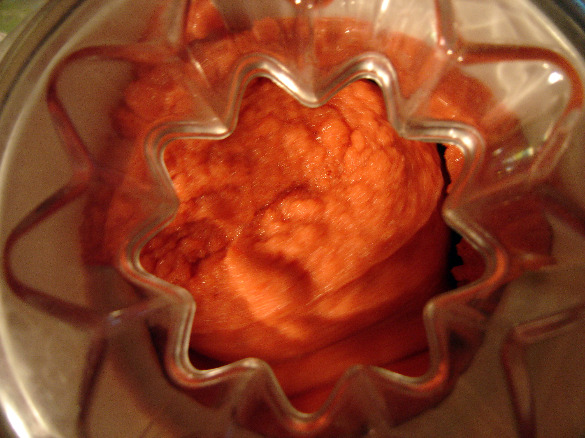
My Recipe Modifications
Adjustments for Making Peach or Raspberry Gelato
That’s it! No cooking – it couldn’t be easier. It’ll work with pretty much any fruit, you’ll just need to adjust the sweet/sour ratio as you go – and keep tasting it. If you’re dealing with a fruit that has seeds (raspberries) or skin (blueberries), then you’ll probably want to strain the fruit mixture (as I noted above in the raspberry gelato adjustment notes) unless you don’t care about the skin or seeds in the final product. The straining part can be a pain, so I generally just stick to the fruits that don’t require straining, but when I’ve taken the trouble to do it – with the raspberry in particular – the result is simply divine.
One additional note – if you don’t have an ice cream maker, you can still make homemade ice cream. The machines do a fantastic and effortless (for you, at least) job of aerating the ice cream, but you can do an acceptable job without one, too. Just pour the chilled mixture into an airtight container and put it in your freezer. Take it out every so often (half-hour intervals or less, depending on how much it’s freezing between the times you take it out) and give it a really good stir. Then pop it back into the freezer. Keep doing this until you can’t stir easily anymore and then let it continue to harden until you’re ready to eat it.
Good luck with your creations, and let me know how they turn out!
>> Check out the other Italian recipes on WhyGo Italy, too!
top