Stick to a few vital rules, and you’ll soon be taking prime pictures of your desert adventures
Taking pictures in the desert can be difficult. The light must be right, composition needs to be balanced and the sheer scale of the landscape should be reflected – all while you're being blasted with dust and seared by extreme heat. But choose the right time and get the right angle and you could capture some incredible shots.
Photos of deserts are made or broken by the light, more so than in any other type of landscape. This is not down to the climate or whether the sun is shining, but due to the time of day, and the quality and direction of the light.
Photographs work best when there is light and shadow, and you will not get this when the light is directly overhead. Much of the detail in deserts is quite subtle, so is best picked out when the sun is low in the sky. If you shoot when the sun is too high, desert-scapes look featureless and bland.

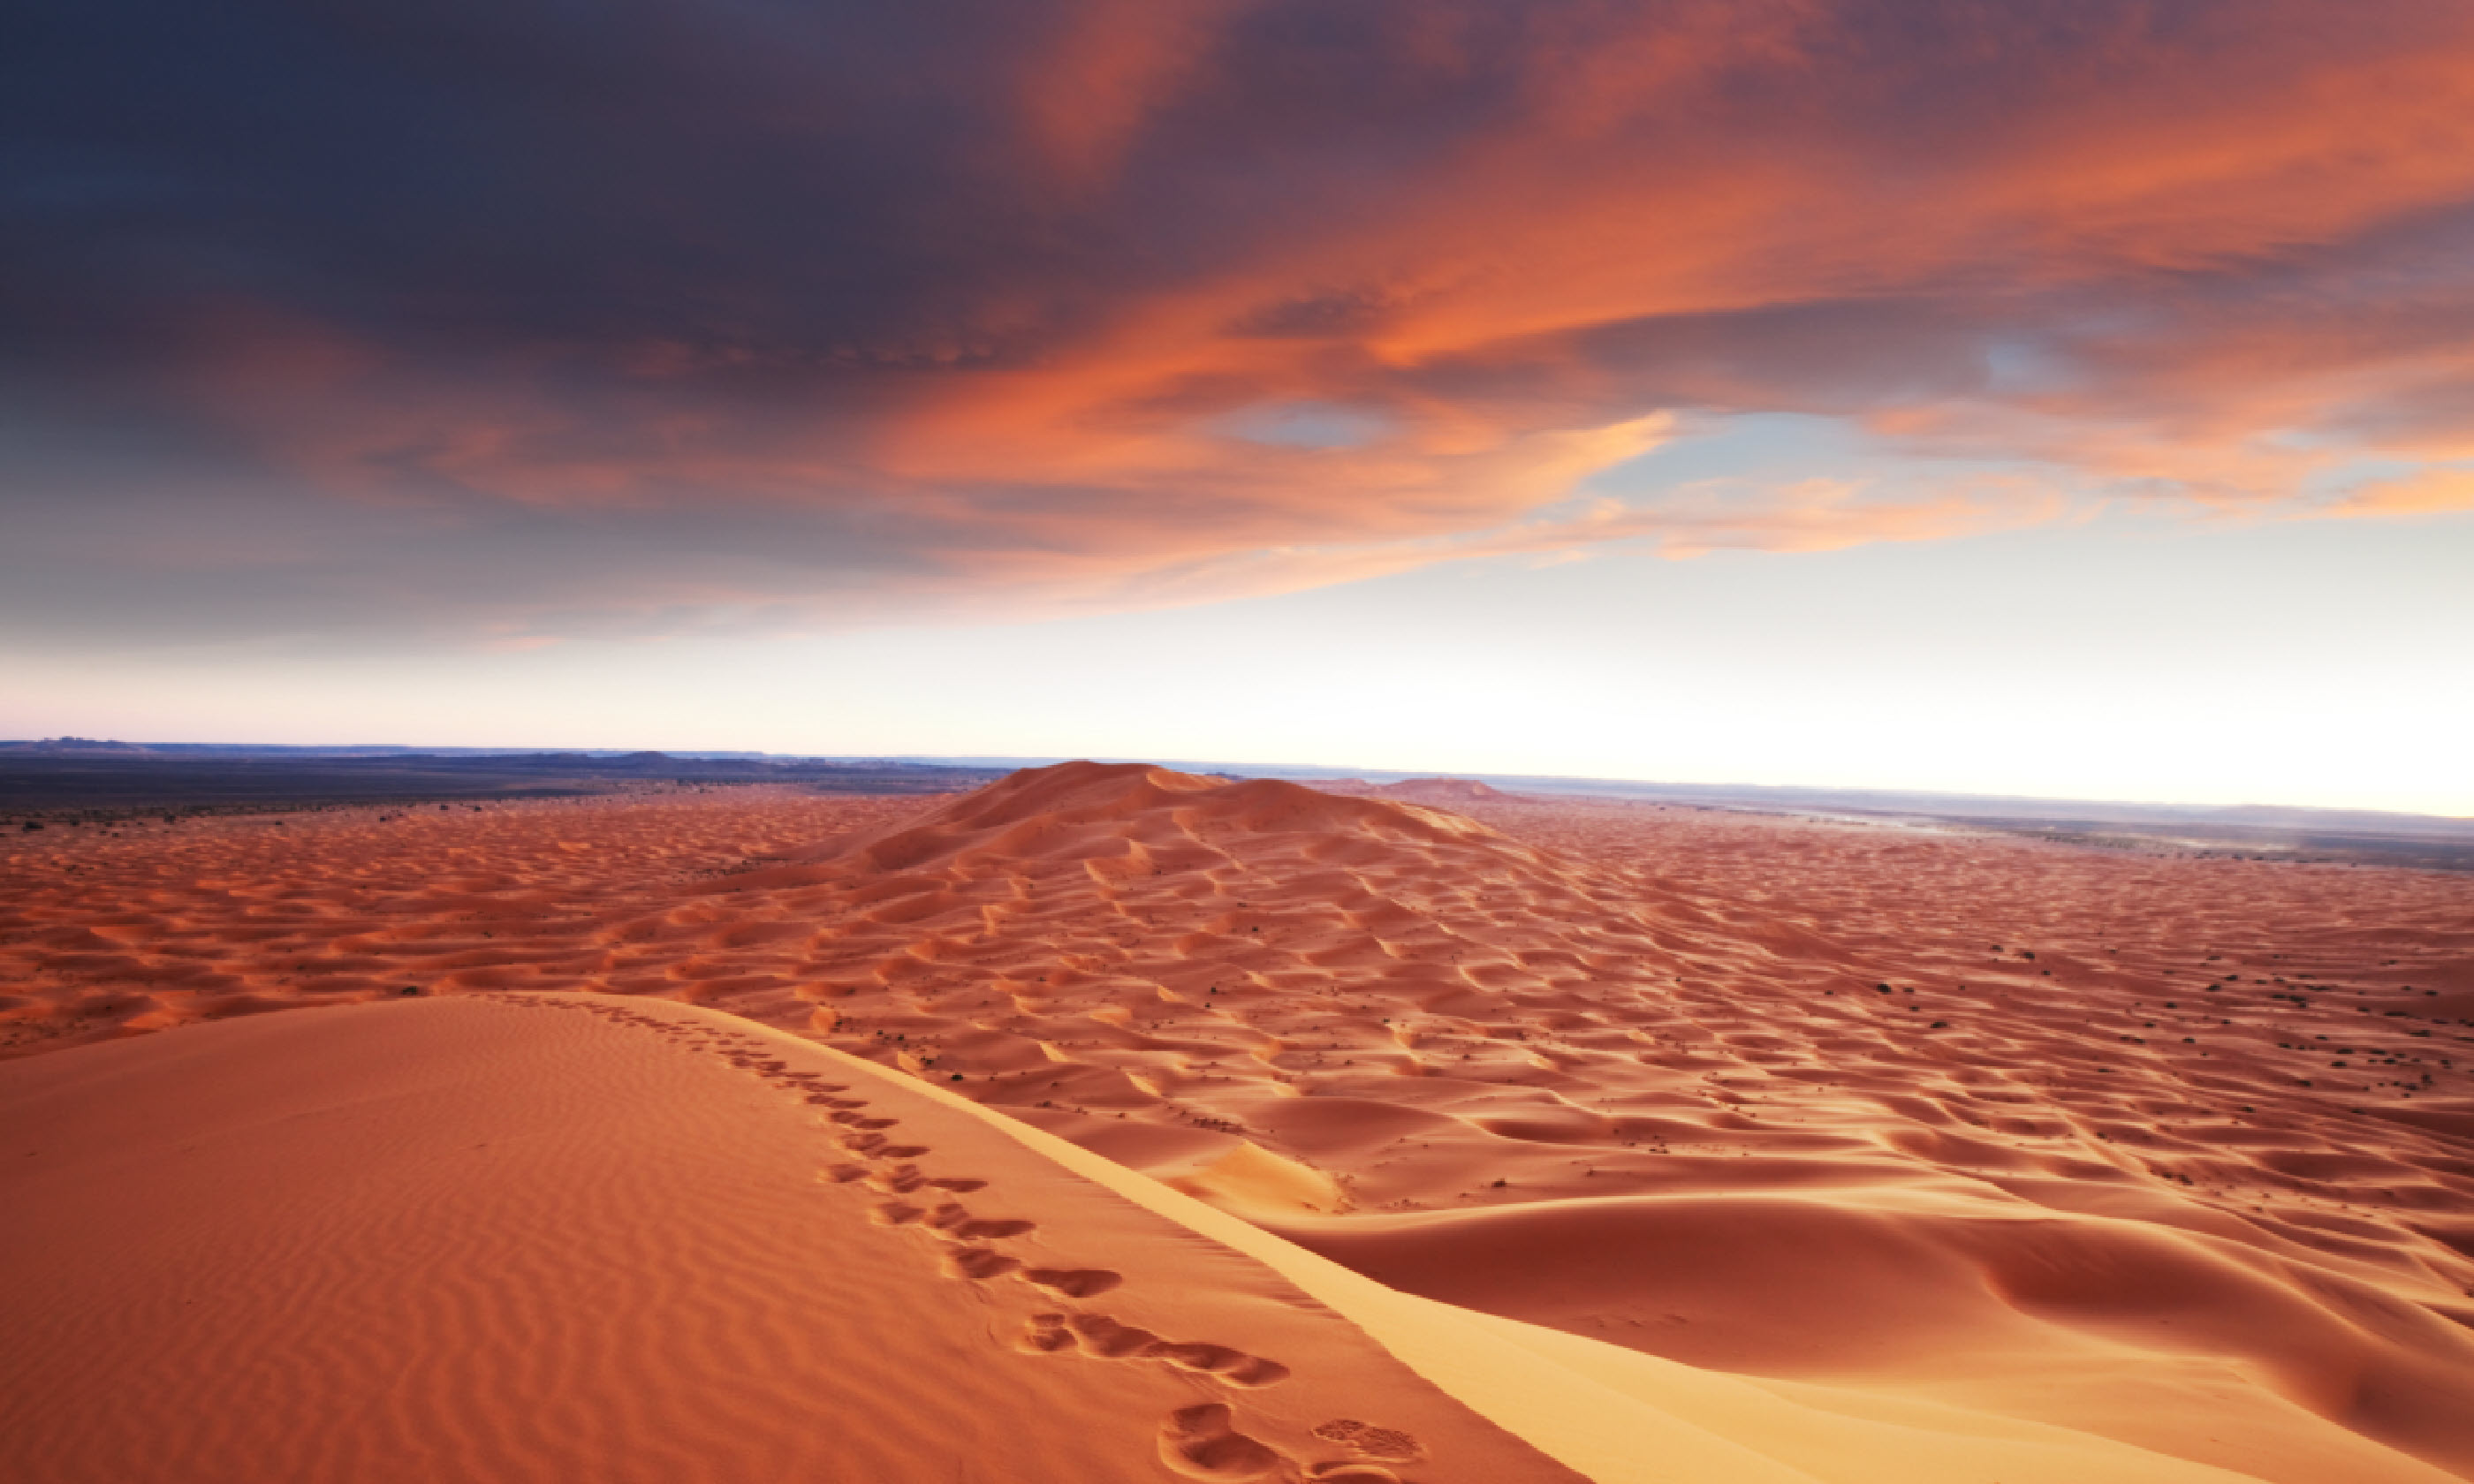
Sahara desert (Shutterstock)
In reality, apart from the first and last 90 minutes of the day, the sun will be less than ideal. And if you want to get the typical shot of sand dunes glowing red or orange, then you will have to take your pictures just as the sun is rising or setting. This is when the light has the most red wavelengths.
If you shoot in the harsh midday hours, then don’t try to take standard landscapes: use the bad light to your advantage. Shoot with the longest lens you have and try to introduce heat haze or even photograph a mirage. These shots are as emblematic of deserts as sand dunes glowing red at sunset.
Like most dramatic landscapes, it is often difficult to do deserts justice. The temptation is to shoot with a wide-angle lens and include everything, but this often ends up as an empty and disappointing photo. Even the highest sand dunes in the world, such as those at Sossusvlei in Namibia, can end up looking like uninteresting bumps.
Often you can create more striking pictures by using a telephoto lens and focusing on a detail. This makes your subject loom larger in the frame – giving it greater presence; the effect is enhanced by the compressed perspective that is inherent in telephoto lenses. Another useful technique is to shoot in vertical orientation, allowing you to zoom in closer to taller objects.
If you do shoot with a wide-angle lens, remember – and even exaggerate – the compositional rule of thirds. A picture will look more balanced if you place the point of interest on one of the third grid lines in the picture, and not across the centre. The easiest way to do this is to look for a point of interest in the foreground or sky – such as a plant, a pattern of sand or even a manmade object – then tilt the camera down to include this, and place the horizon on the top third line. If there is a sky with an interesting cloud formation, consider tilting the camera upwards and place the horizon on the bottom third line. This will bias the picture towards the sky.
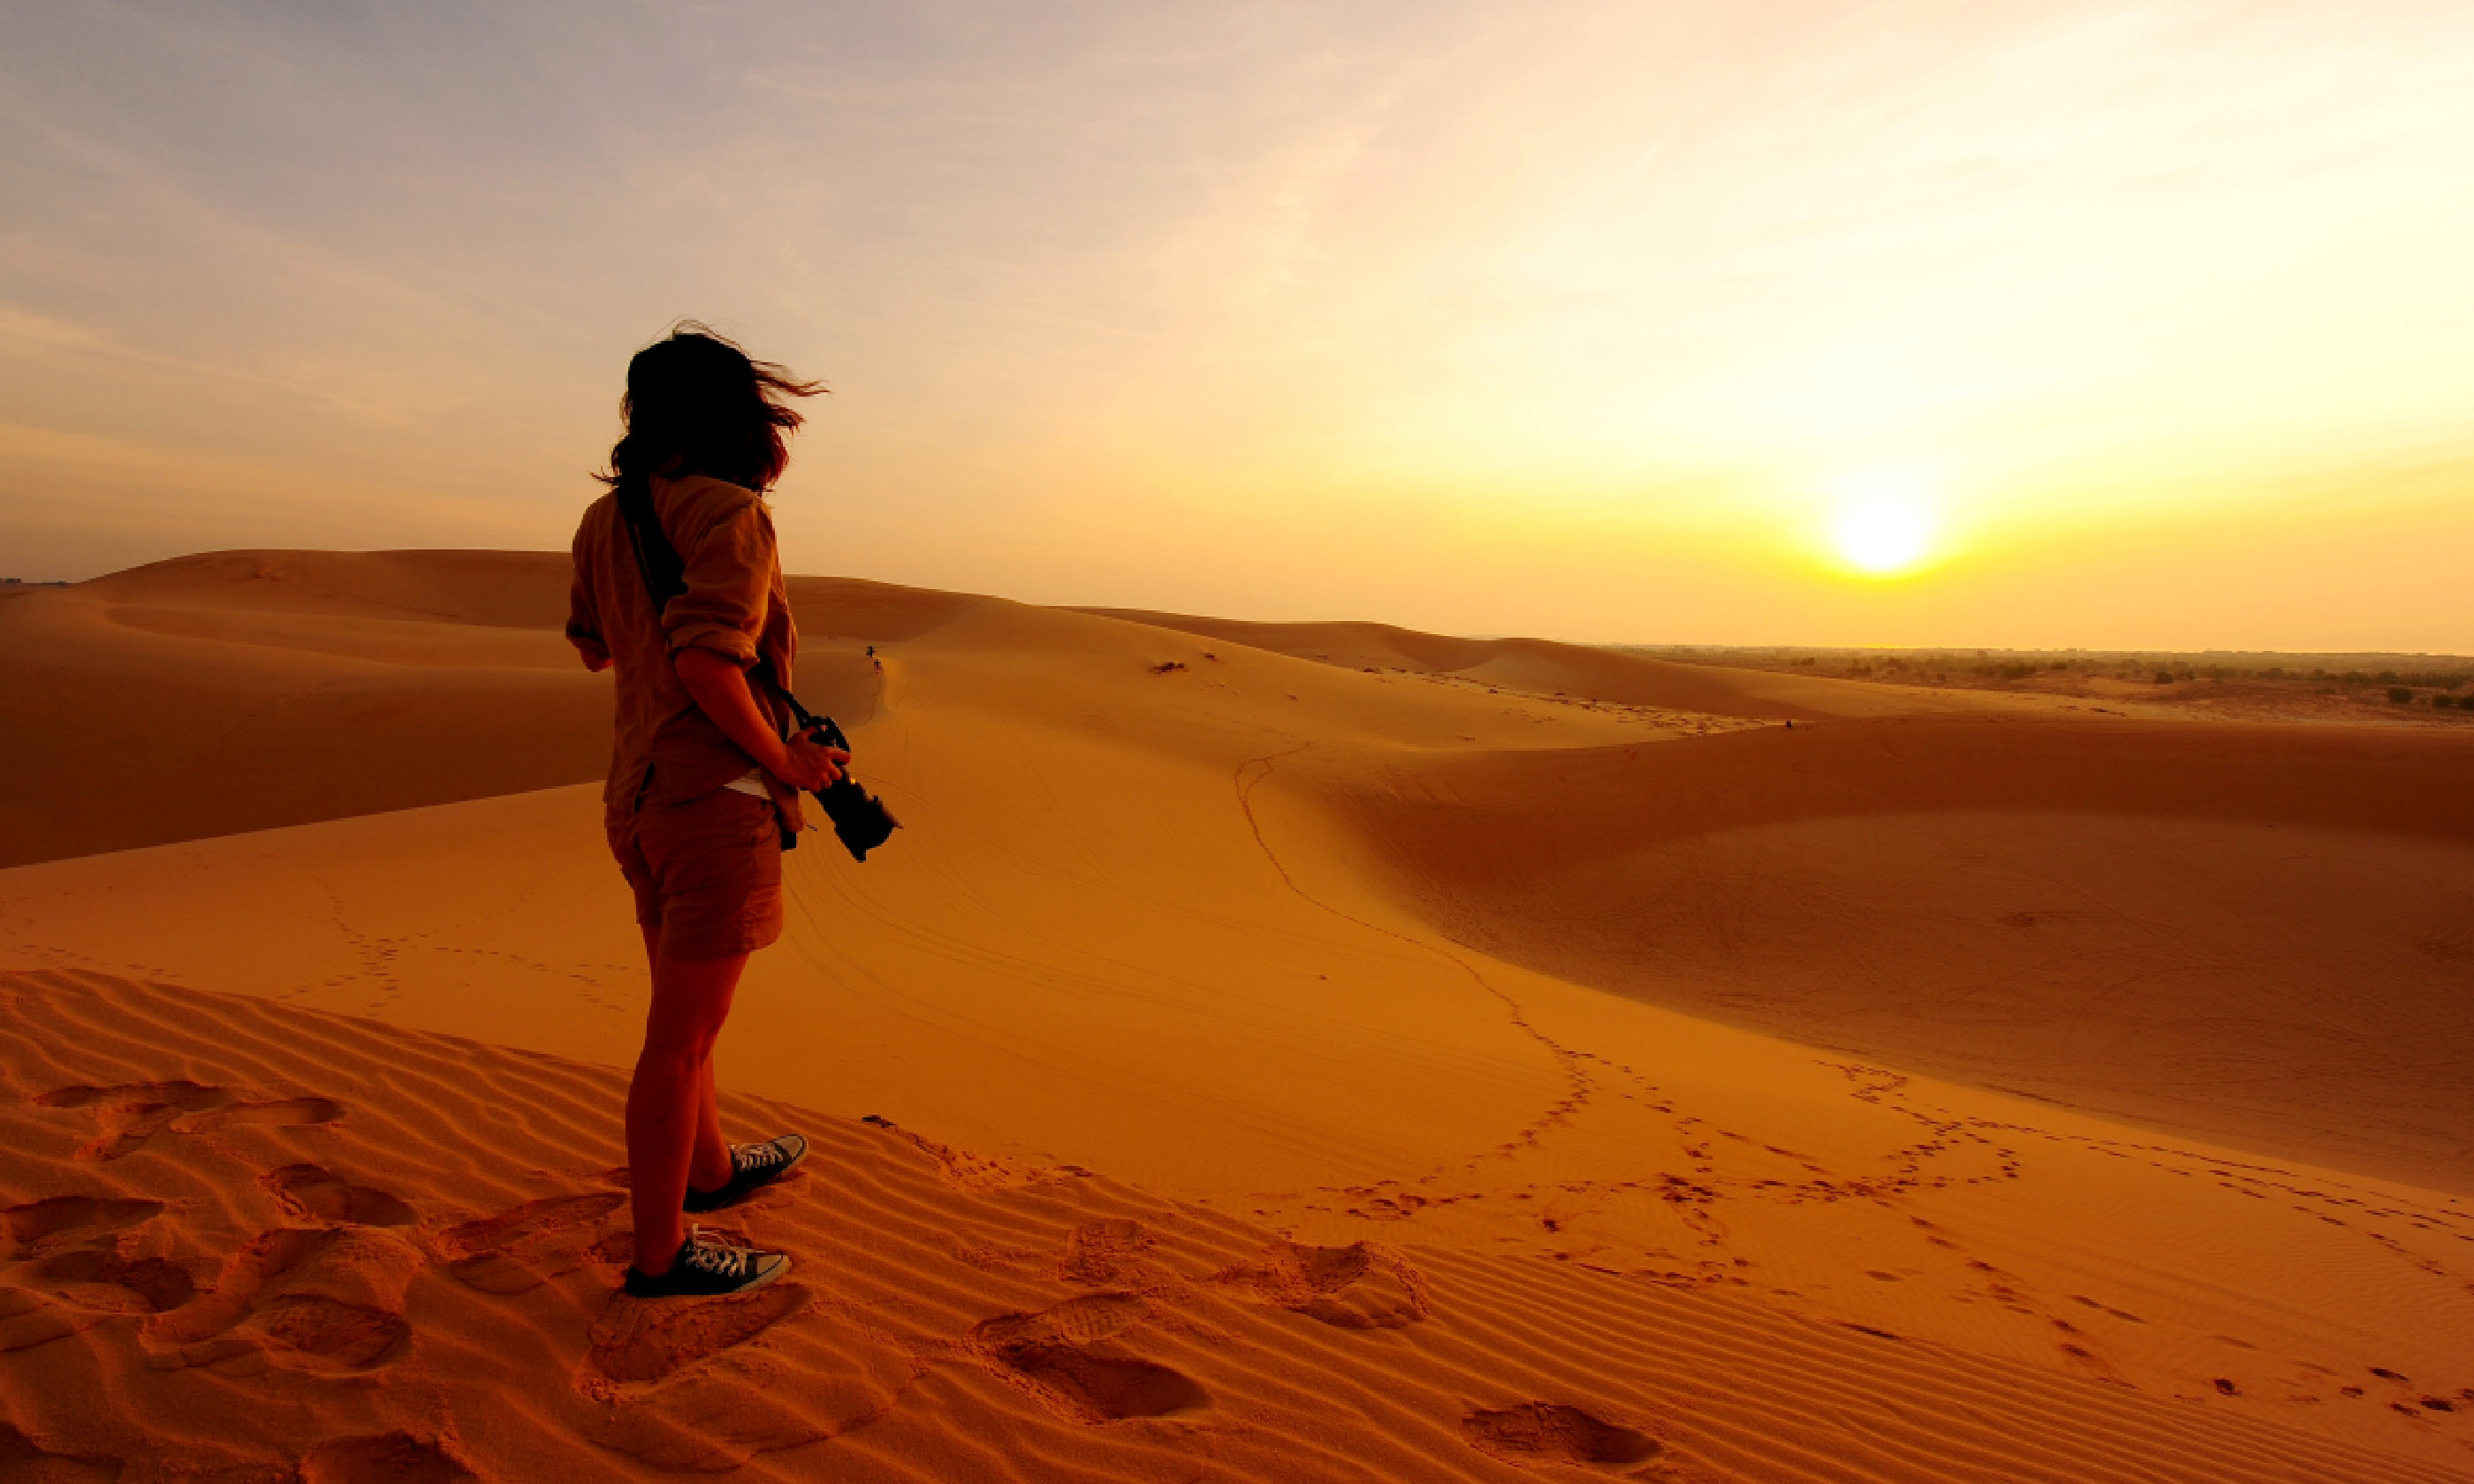
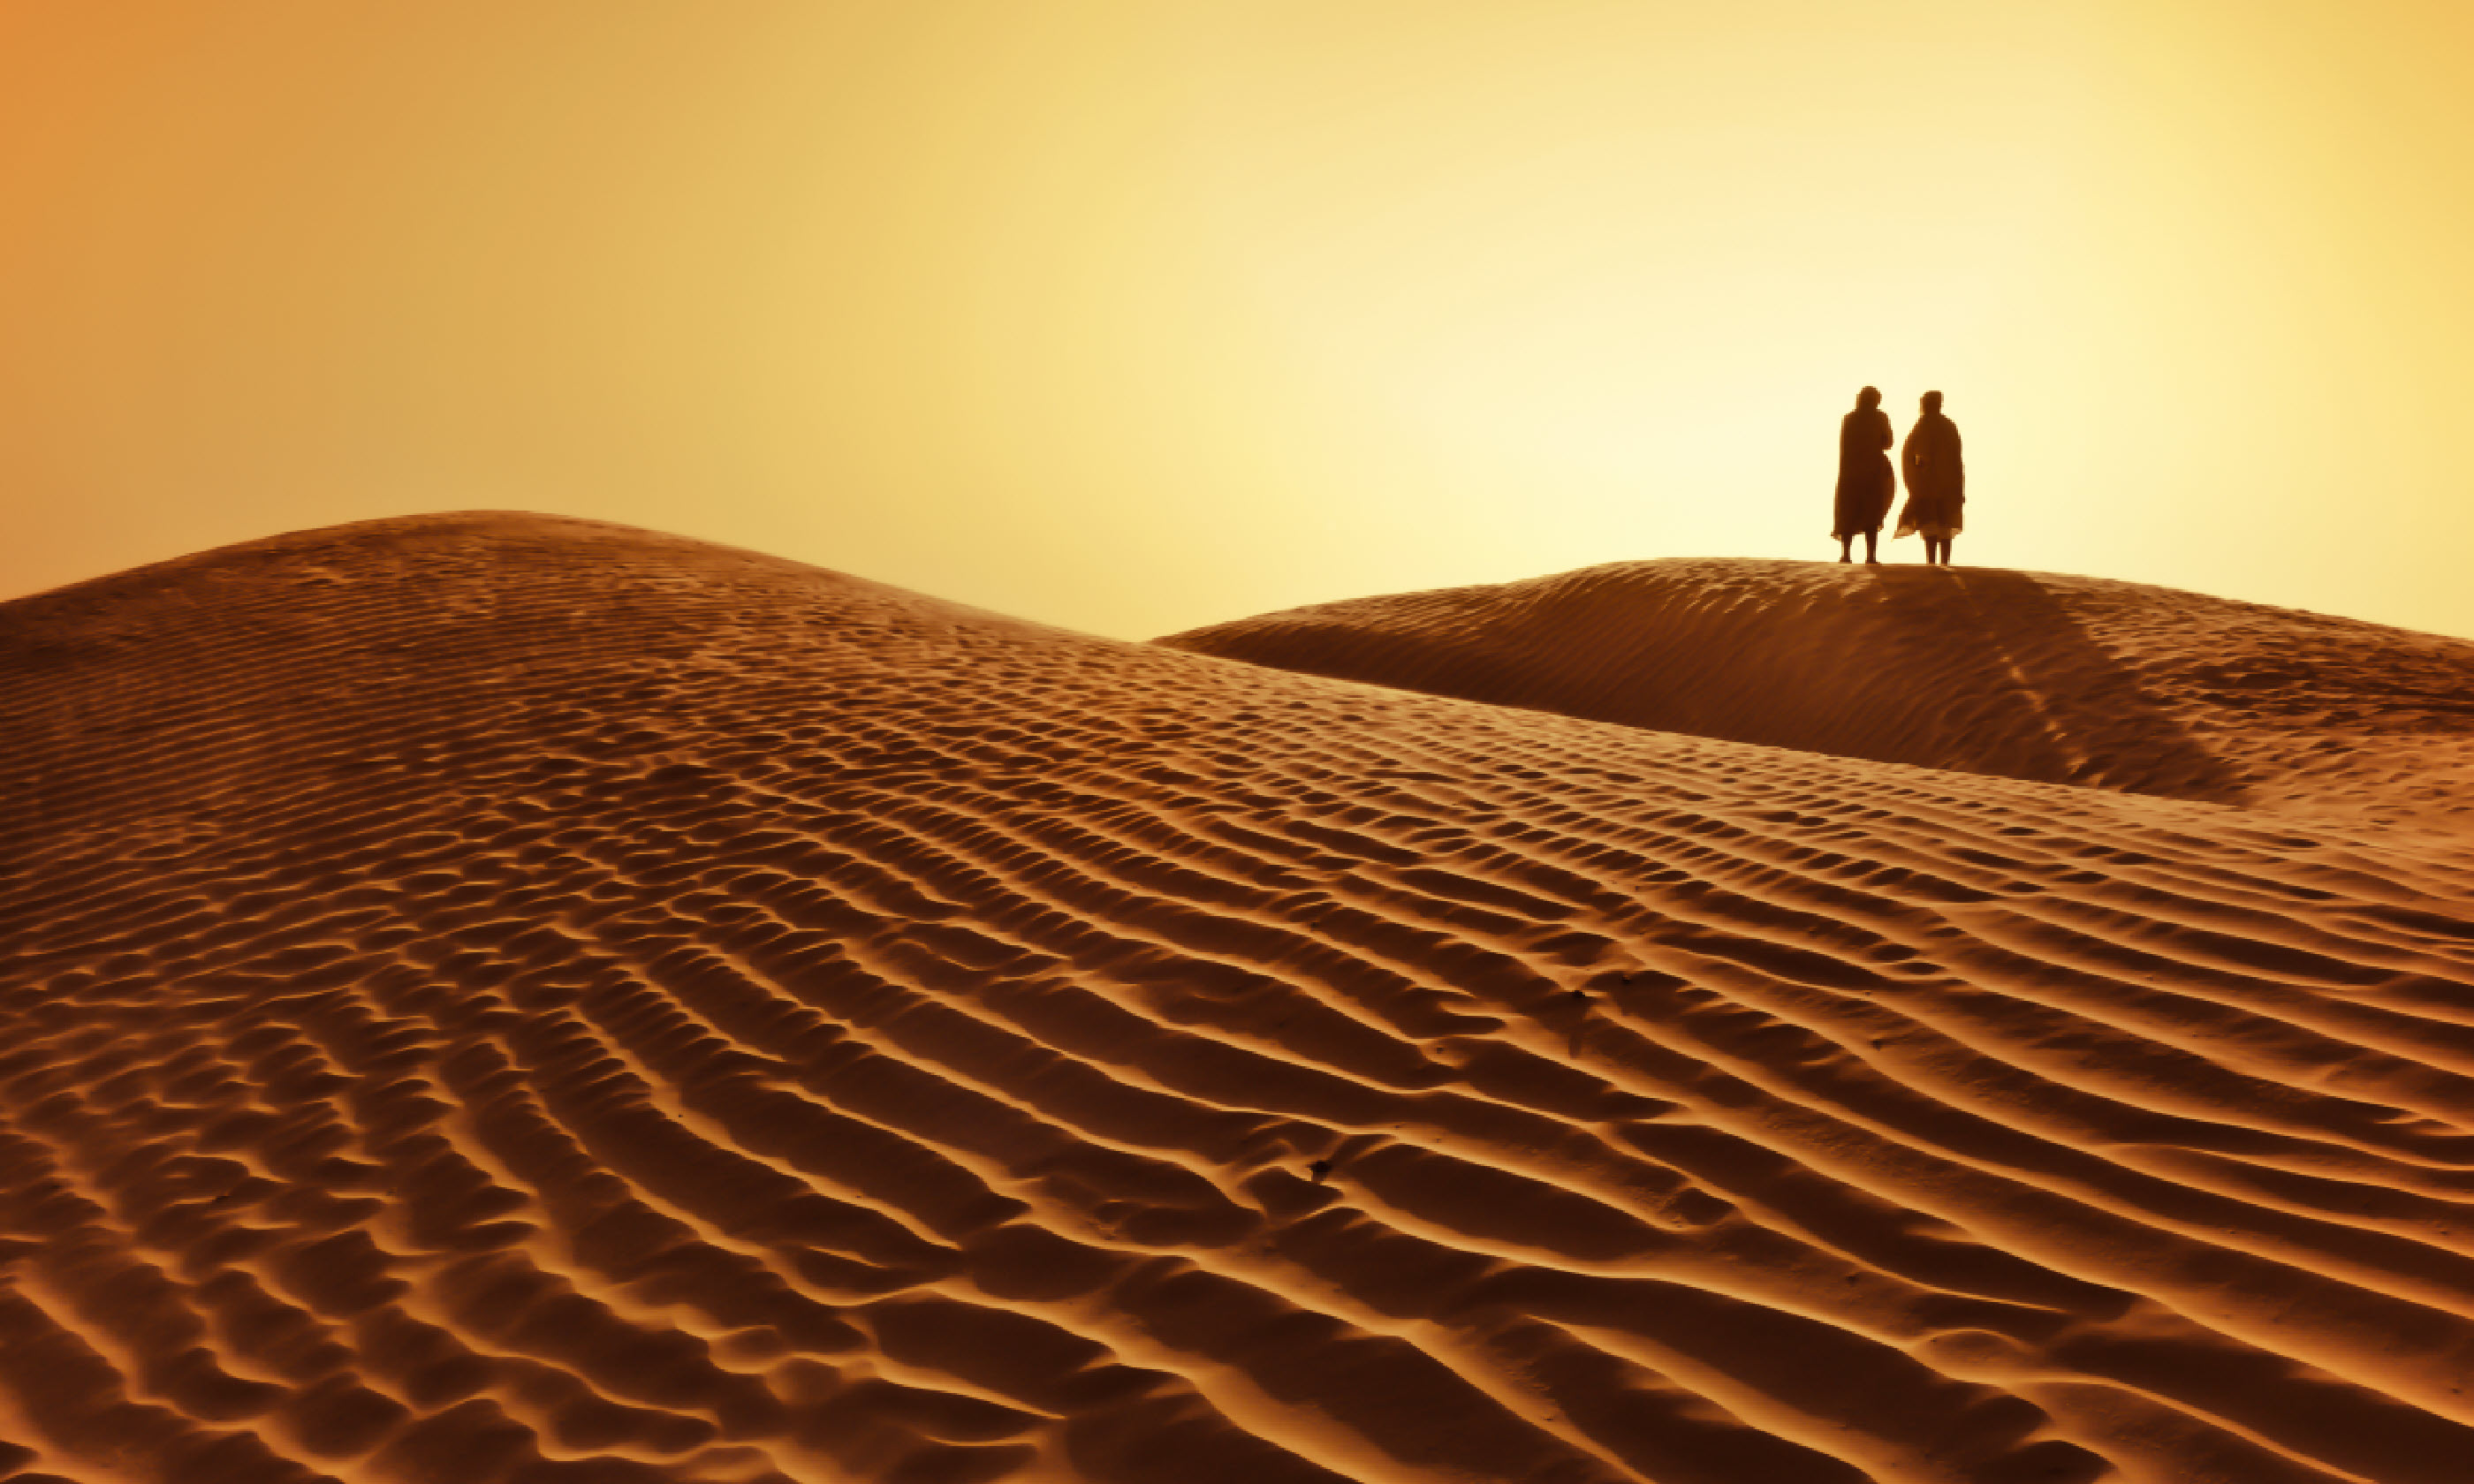
Deserts are vast, yet it can be difficult to get any idea of scale in pictures. Even massive sand dunes can look like a beach if there is nothing in the picture to show people just how big they are. All sorts of familiar objects, from trees to vehicles, can do this but one of the best things is a fellow traveller. A stick figure on the horizon, or even a series of footprints leading up a sand dune, can often do the job.

A couple in the Sahara desert
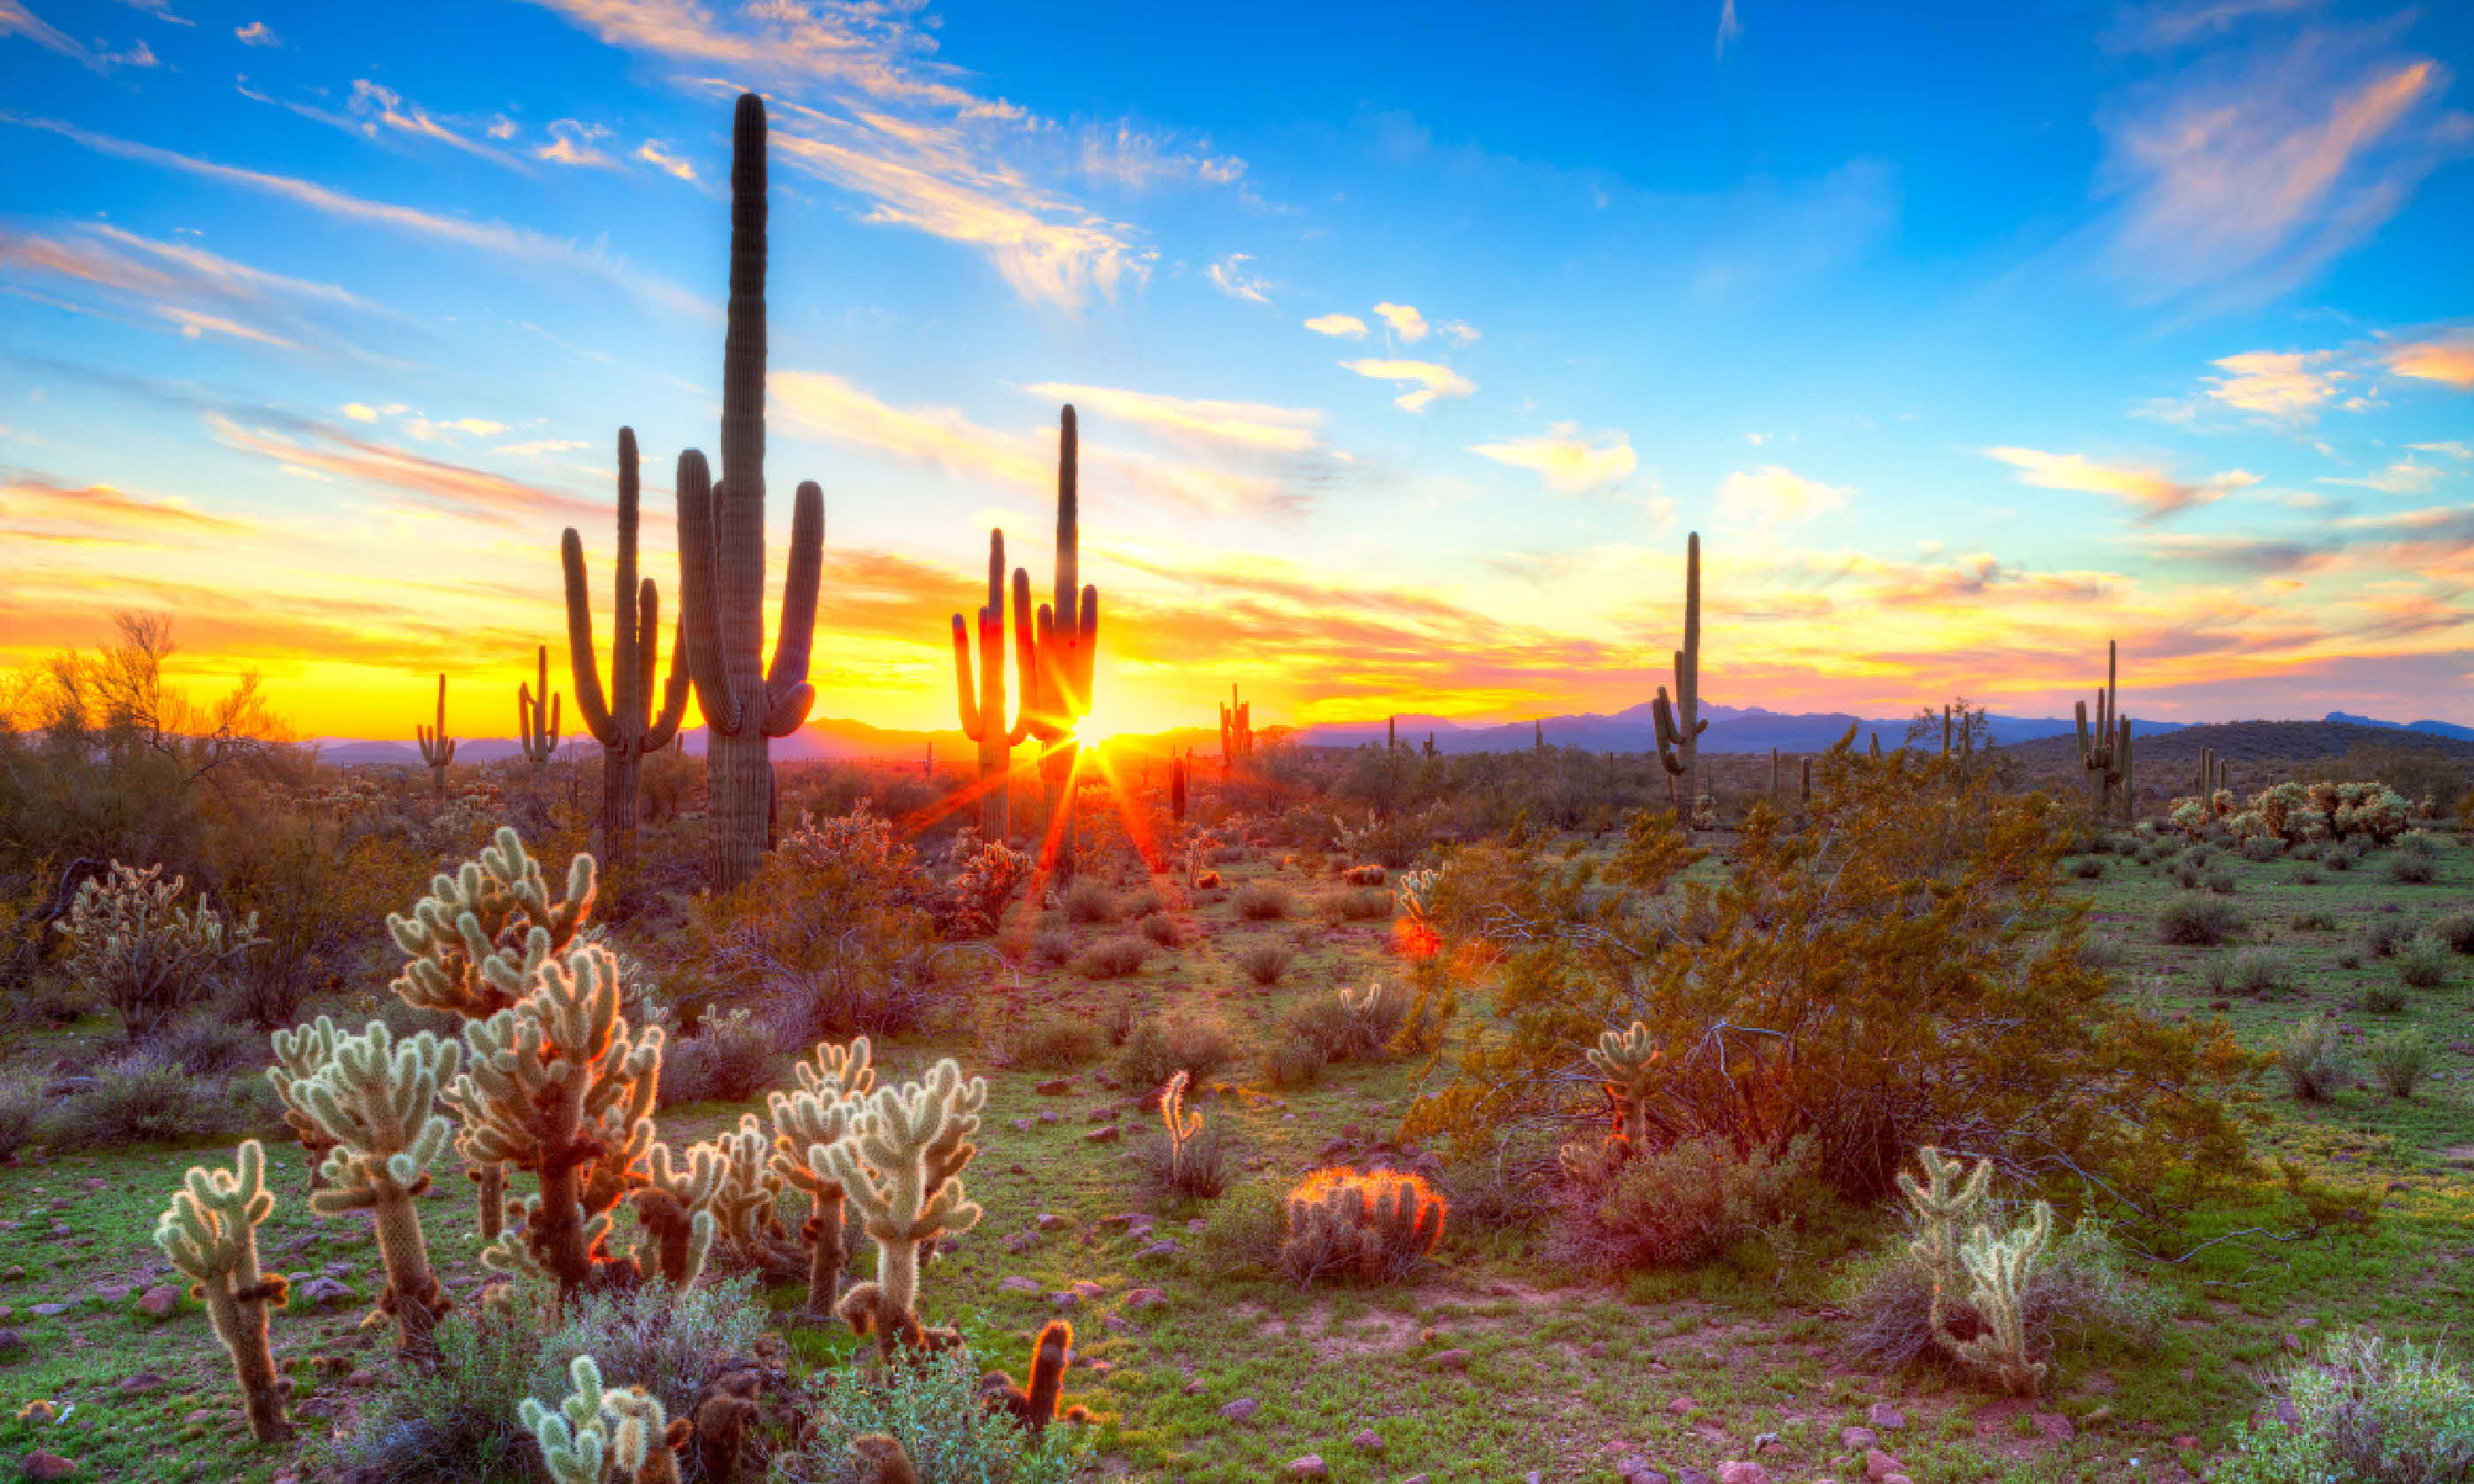
Deserts aren’t just about sand dunes. A surprising amount of life exists in these regions. Many plants and animals have adapted to this harsh environment, and sometimes they can be more striking than a sweeping vista.
If you are photographing small objects, try to get down on their level, and compose your shot to get something in the background that gives a sense of place to the picture. If you are close to the subject and using a relatively wide aperture, then the depth of field will be short and therefore the background should be pleasingly out of focus.
Dust is the biggest practical concern when photographing in desert conditions. This can clog up the moving parts on your camera, especially the retracting lens on a compact camera. If you are shooting with a DSLR with interchangeable lenses you should avoid changing lenses whenever possible.
Shooting with a zoom lens can help. If you are taking a lot of pictures in dusty deserts then a super-zoom with a very wide range is worth considering. Typically ranging from 18-200mm (equivalent to approximately 27-300mm on a cropped DSLR), these lenses have some quality implications, but they could mean you never have to change lenses and risk damaging your camera.

Sunset in Sonoran Desert (Shutterstock)
If you have two camera bodies, then shooting with a wide-angle zoom on one, and a telephoto zoom on the other means that you can avoid changing lenses and letting dust and sand into the camera.
If you have a cheaper, less well-sealed camera, wrap it in cling-film or place in a plastic bag (with a hole for the lens opening and viewfinder of course) to stop dust getting into moving parts. Secure the plastic bag around the lens and viewfinder with tape or an elastic band and use a blower brush to remove all of the dust from the camera before you place it back in the camera bag.
Check out more advice from professional photographer Steve Davey