How to take amazing photos of stars
Want to photograph stars like a pro? Here's how to make your night-time travel photos dazzle...
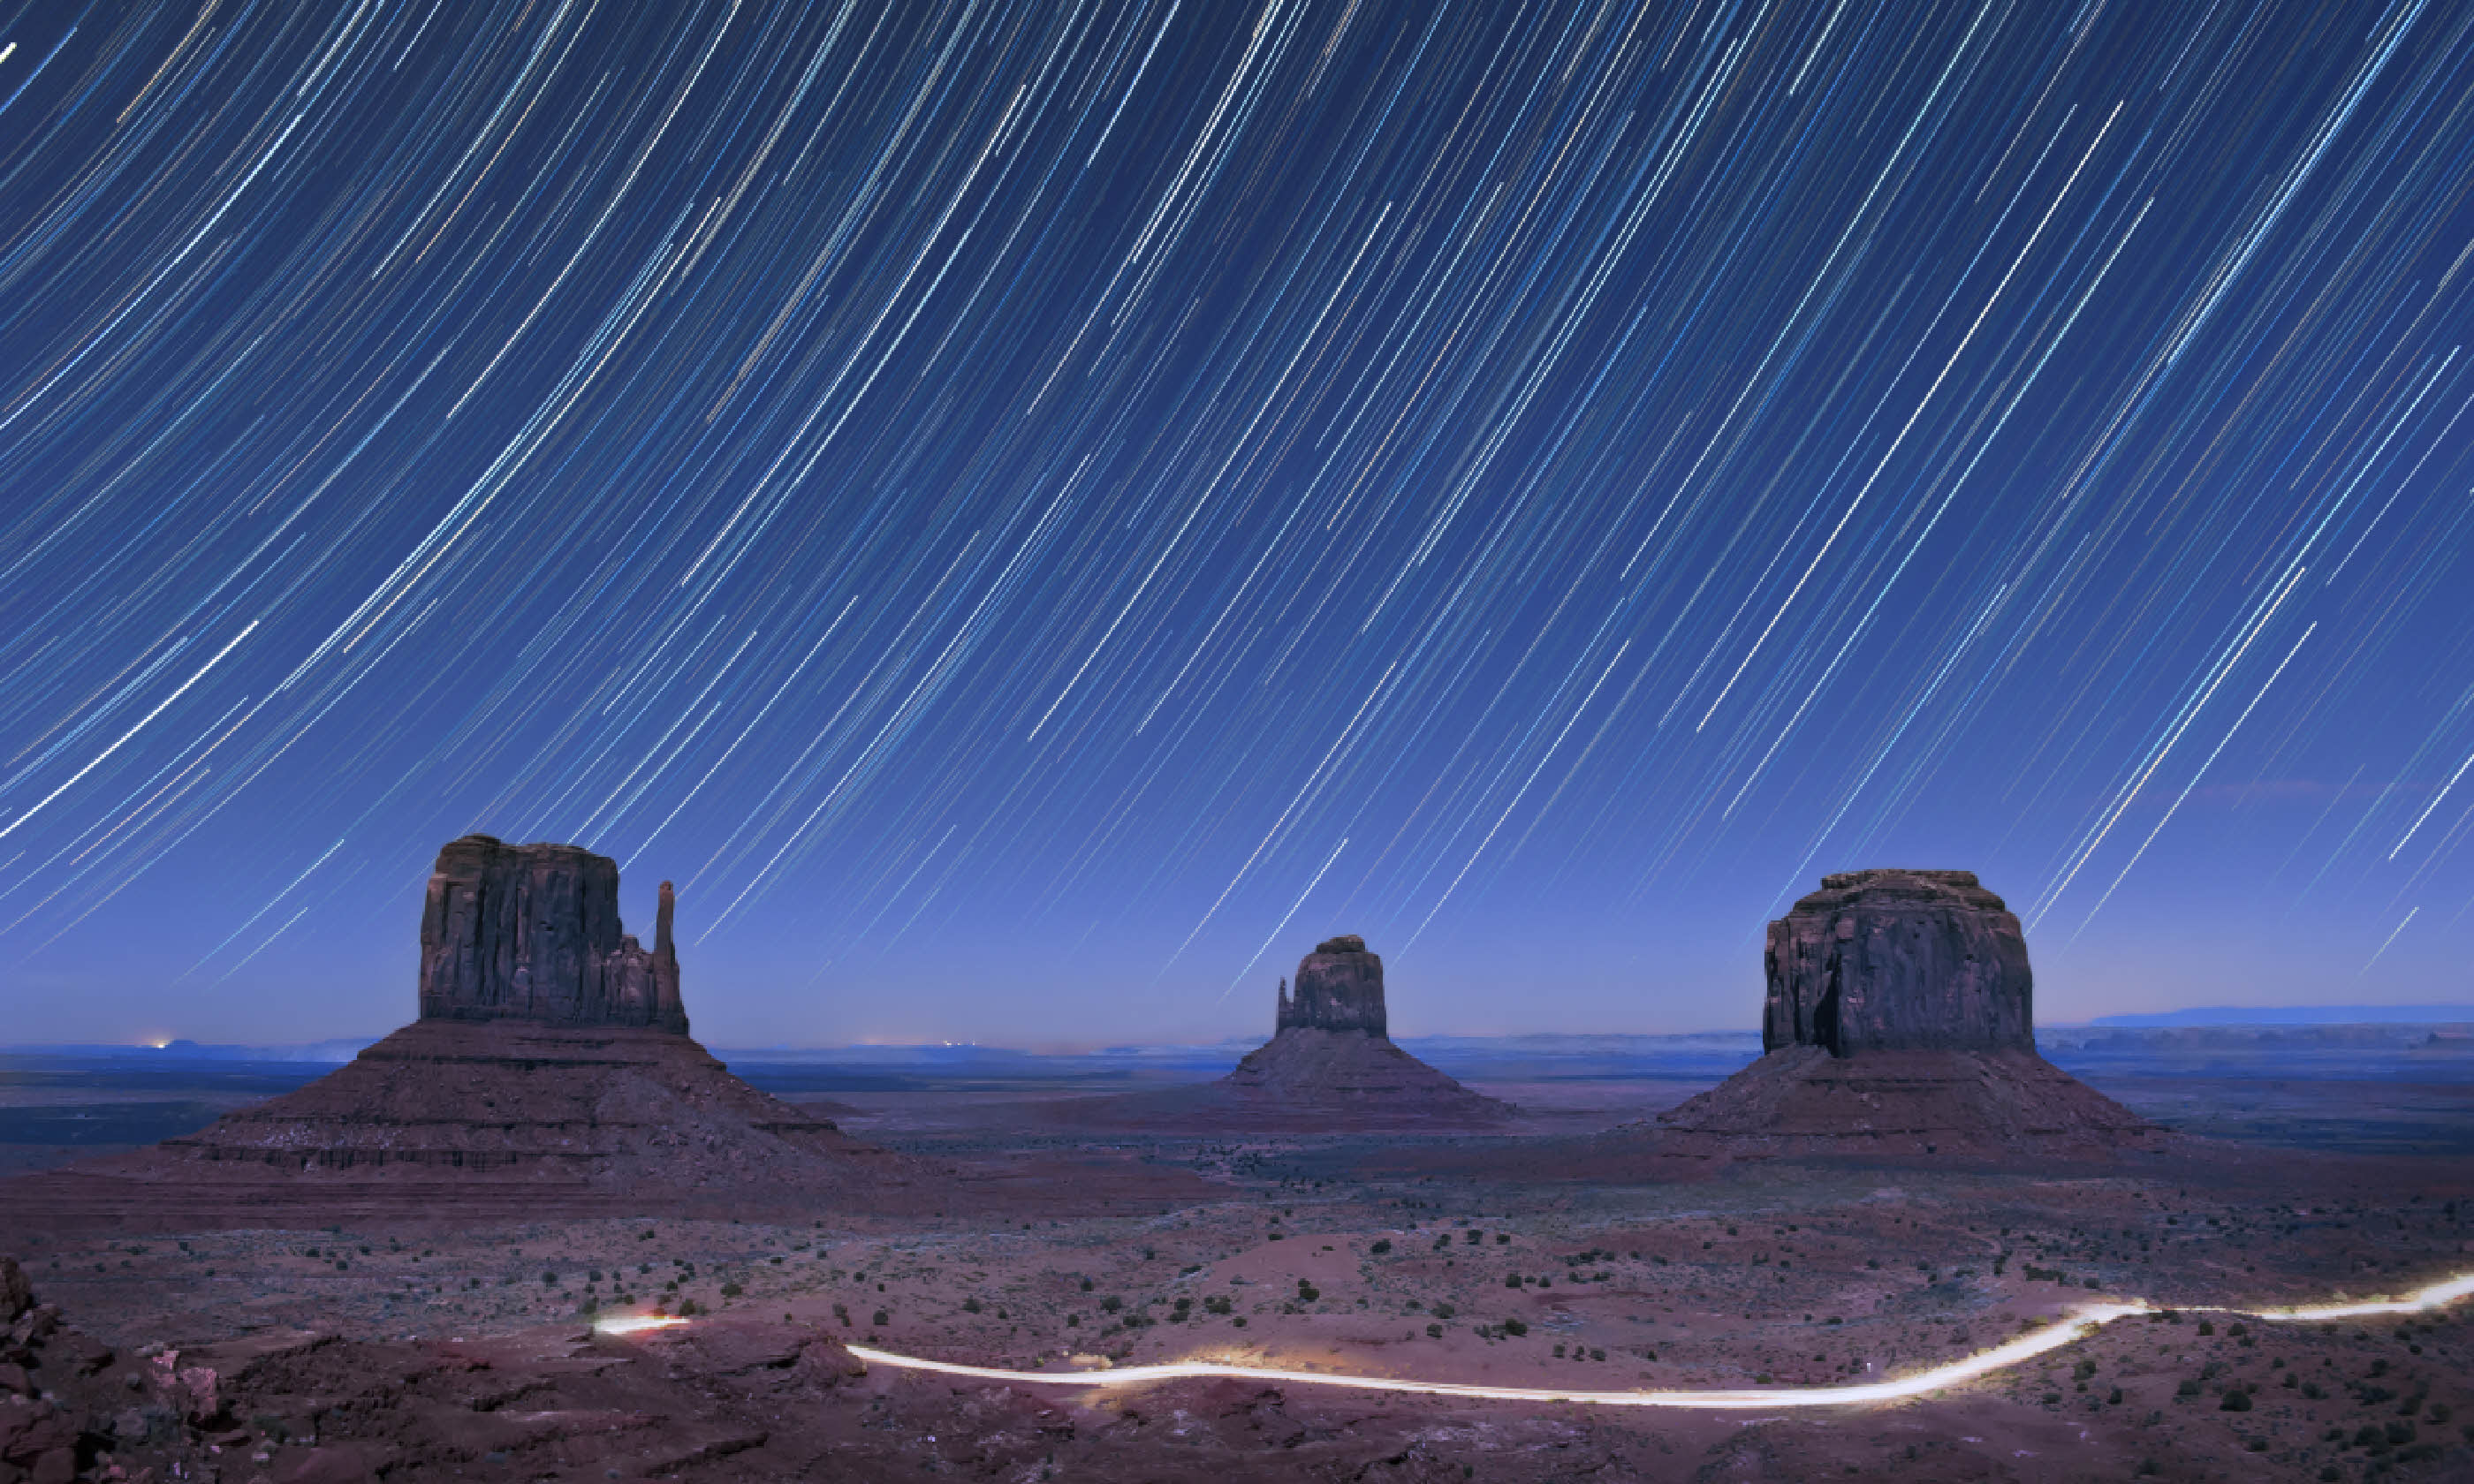
The darker your location, the better you’re able to shoot star trails: super long exposures that render the stars as streaks in the sky.
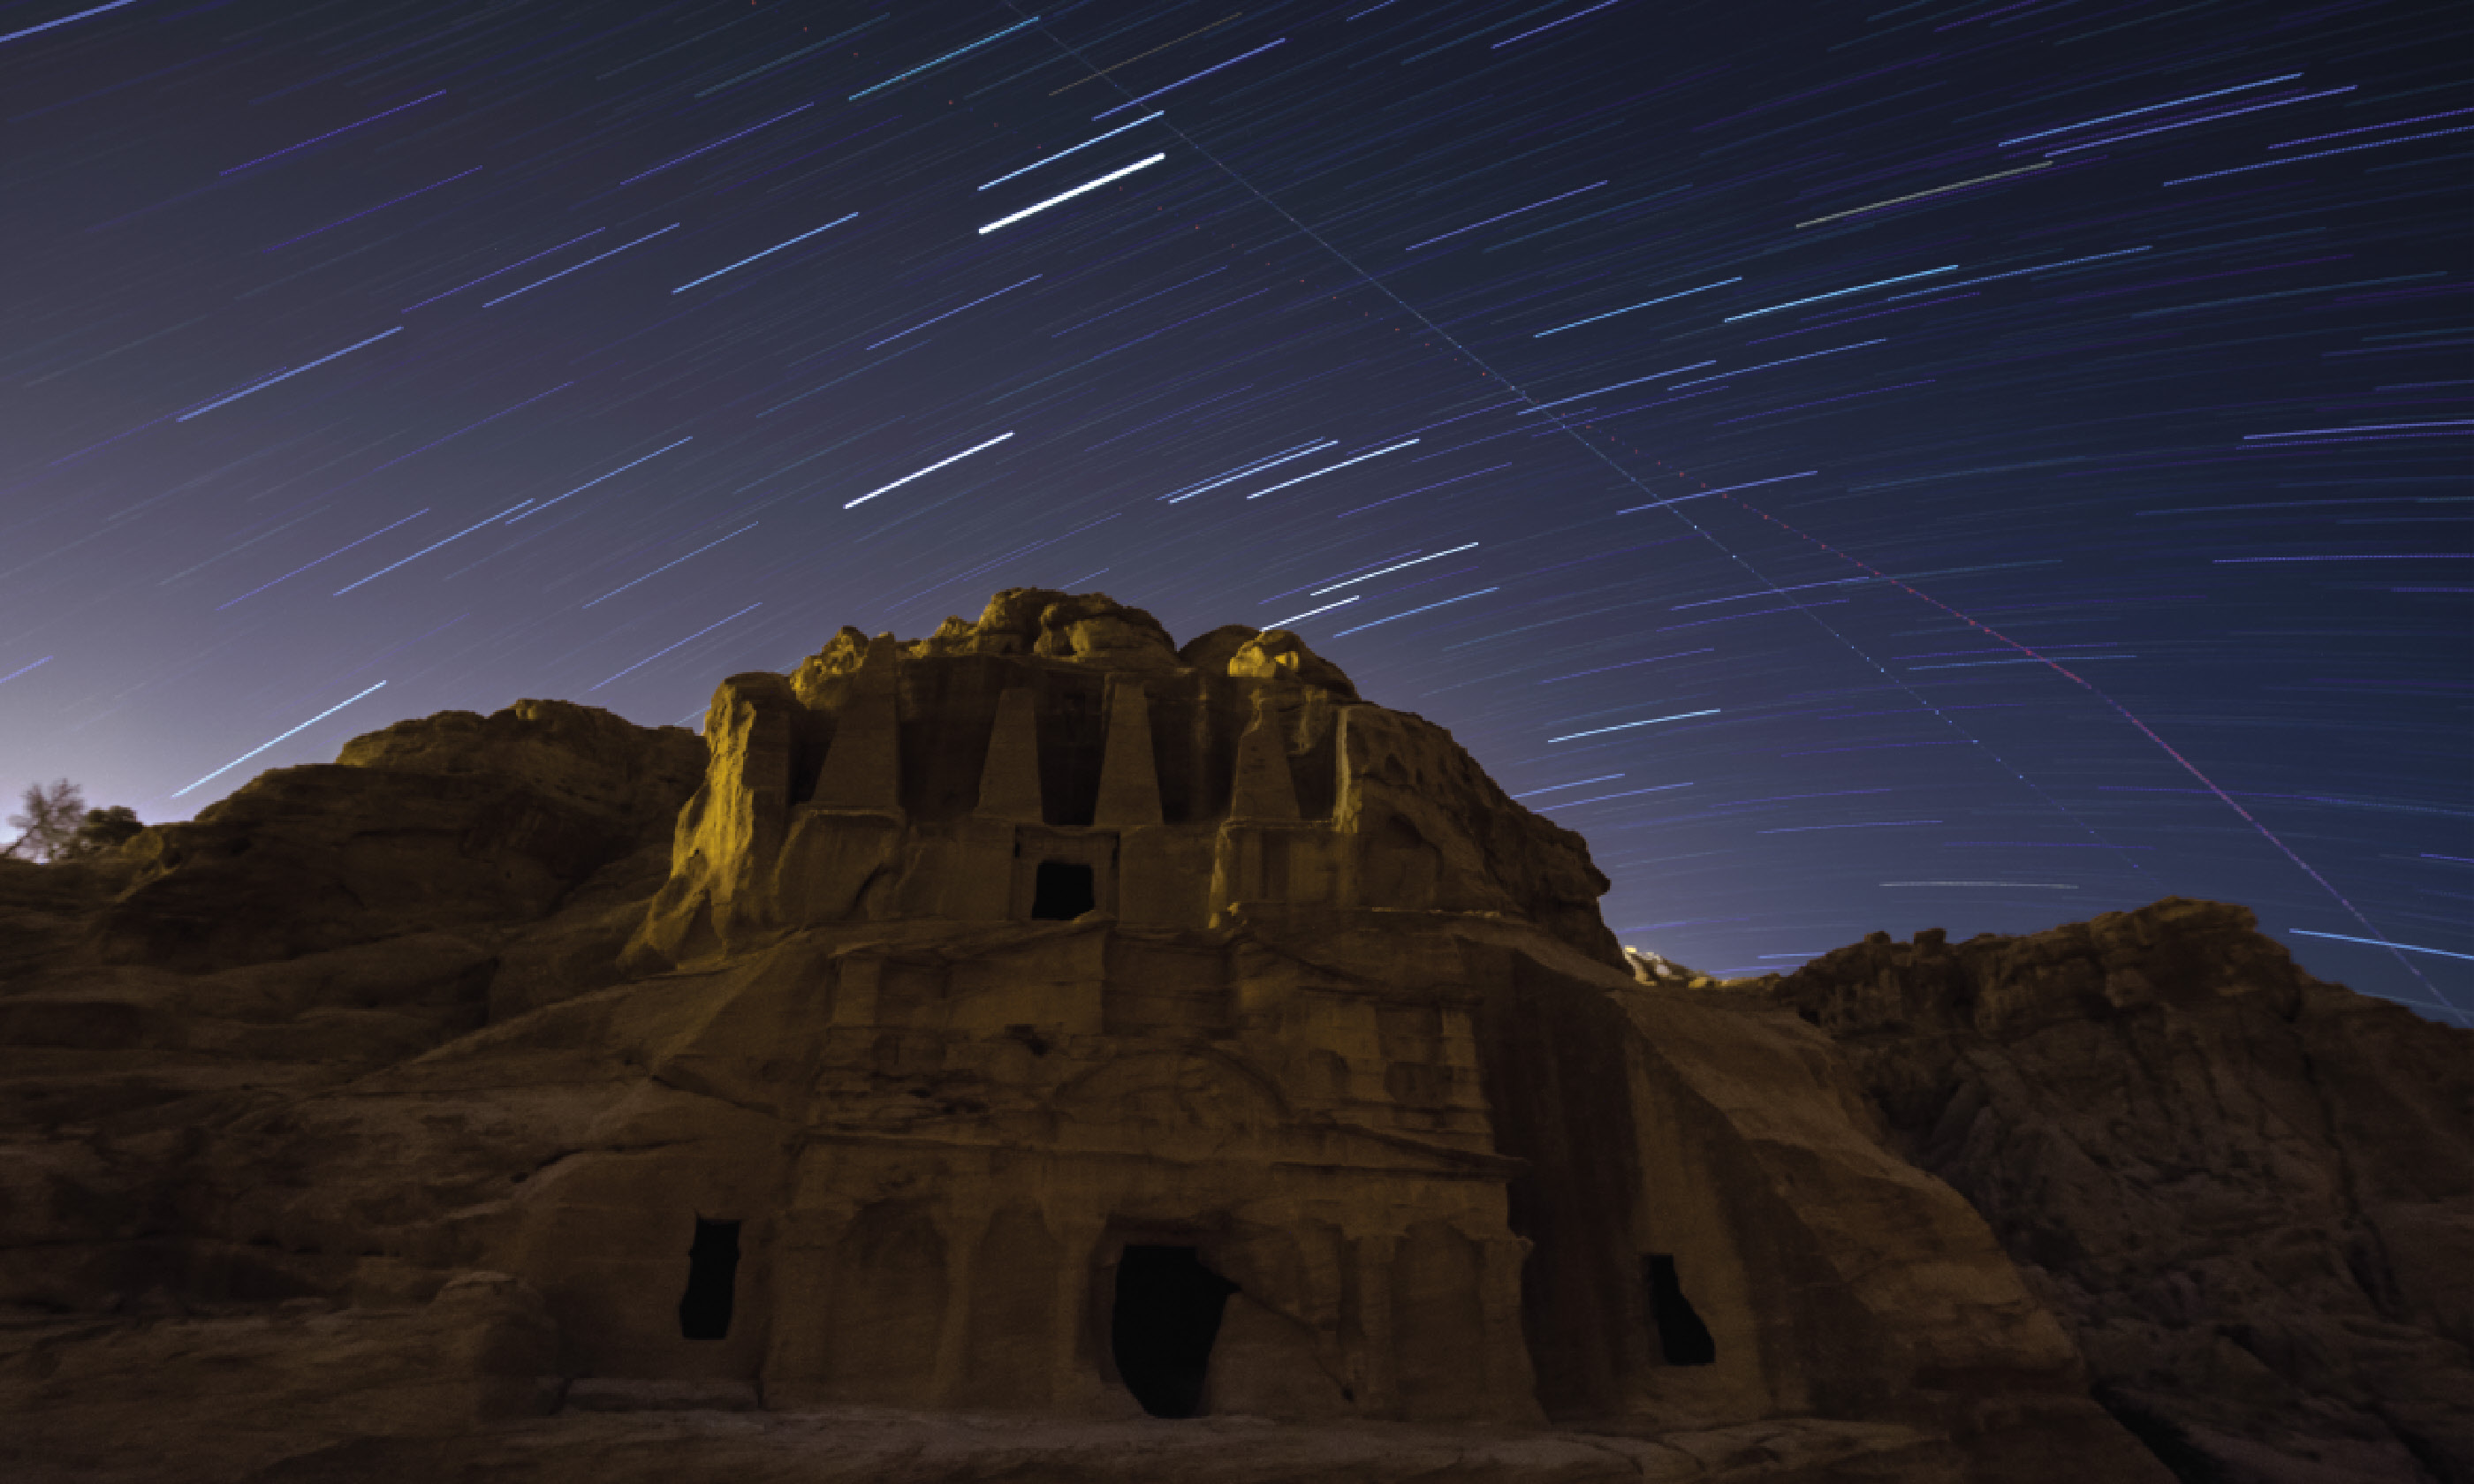
I wanted to shoot star trails over Petra. The site is closed after dark, so I bought a ticket to the overcrowded Petra By Night show. While the crowds flocked to the Treasury, I could shoot stars in the Siq. Once I’d set up my camera, I had just over 30 minutes before the tourists returned. The result was this photo:

For this shot I took 61 30-second exposures, which I combined using
StarStaX, a free bit of software that merges all the shots together and attempts to fill in the tiny gaps between individual shots.
There are two ways to shoot star trails: a long exposure of minutes (or even hours), or a series of exposures stacked together – as above. The latter has advantages: it allows you to balance any ambient light that might be in the foreground; if anything (a vehicle, a tourist) gets in the frame, you can delete that single frame, and not ruin the whole exposure. And if your battery runs out, you still have the completed shots (with one long exposure, all would be lost).
1. Stack your shots
To take multiple shots for stacking, set exposure time to 30 seconds and aperture to between f4 and f5.6 (anything smaller and many of the stars won’t render properly). Take test shots, then adjust the ISO sensitivity until the exposure is correct. With your camera on motordrive setting, use a locking cable release (or an intervalometer; a device that counts intervals of time) to shoot until you get bored.
2. Don’t forget to focus
To be really effective, a star trail needs a significant and recognisable foreground. Manually focus on the foreground; this might require a few test shots, or shine a torch on the foreground to light it enough to focus on it.
3. Point at the North Star
If you point your camera at the North Star, the star trails will appear circular; if not, they will just be streaks in the sky. Any shooting stars or passing planes will render as random lines. Planes can be retouched out afterwards, but they do add to the final effect.
4. Use a tripod
You need to keep your camera perfectly still. A good quality, stable tripod is vital – for added stability, don’t extend it completely and never use the central column.
5. Keep it stable
If your lens zoom or focus actions are loose, tape them up so they can’t shift during the exposures. If your camera doesn’t have a built-in intervalometer, use a locking cable release to continuously take shots.
Want to try shooting star trails with a professional photographer? Join Steve on one of his guided photography tours...

